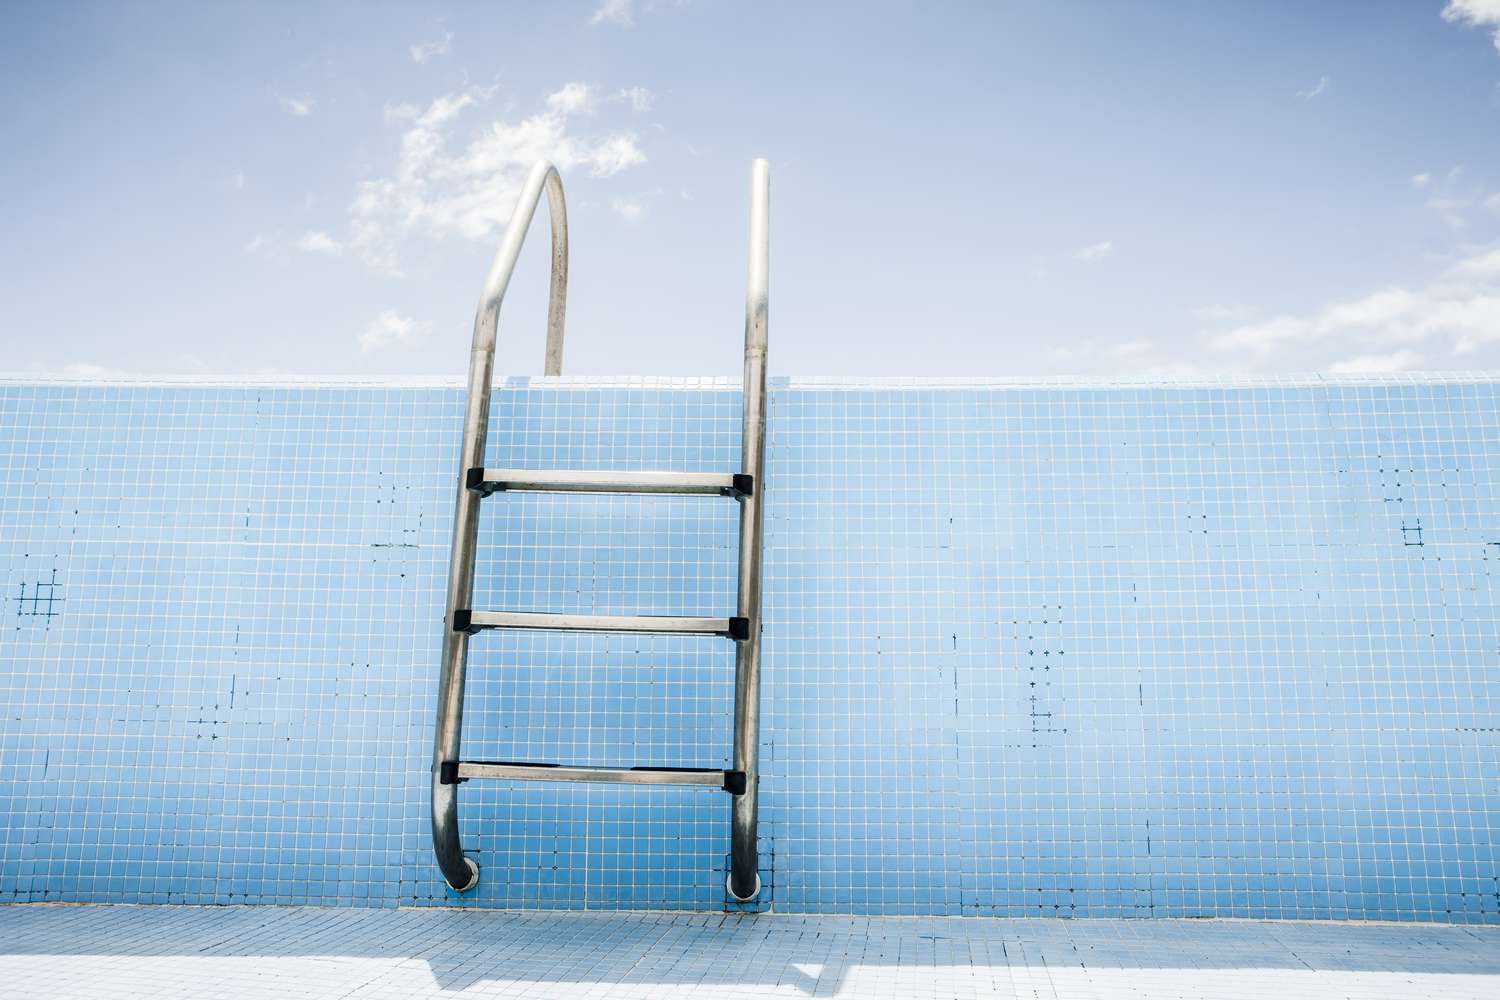
Swimming pools provide a refreshing escape from the summer heat and a great way to relax and have fun. Pool ladders are vital in providing safe access to the collection, allowing swimmers to enter and exit easily. Anchors are essential to pool ladders, providing stability and ensuring the ladder remains securely in place.
Over time, anchors can deteriorate due to exposure to water, chemicals, and general wear and tear. Damaged or worn anchors can compromise the stability and safety of the ladder, making it necessary to replace them.
In this article, we will guide you through a step-by-step process of replacing an anchor for a pool ladder. By following these instructions, you can ensure a secure and reliable ladder that enhances the overall safety of your pool.
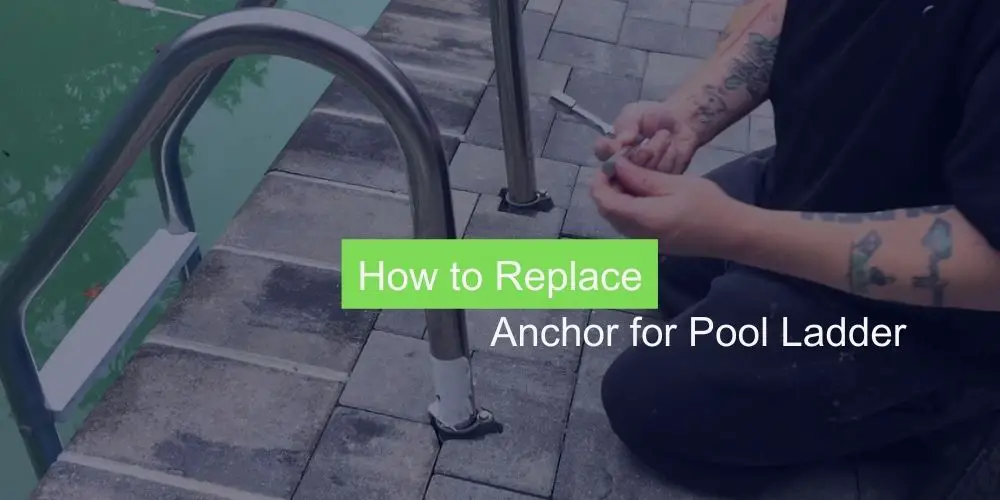
Step-by-step to Replace Anchor for Pool Ladder
1. Gather the Necessary tools and materials
Before you begin replacing the anchor, it’s important to gather all the required tools and materials. This will ensure a smooth and efficient replacement process. Here’s a list of items you’ll need:
- New anchor (make sure it is compatible with your pool ladder)
- Screwdriver
- Wrench
- Plumber’s tape
- Pool ladder installation manual (if available)
- Safety goggles (to protect your eyes)
2. Lift it out
To start, ensure that the pool ladder is removed from the pool. Carefully lift it out and place it on a clean and stable surface. This will provide you with better access to the anchor and make the replacement process easier.
3. Remove the Old Anchor
Using a screwdriver or a wrench, loosen the screws or bolts that secure the old anchor in place. Once the screws are removed, carefully detach the anchor from the ladder. Be cautious not to damage any surrounding components during this step.
4. Install the New Anchor
Take the new anchor and align it with the holes on the ladder where the old anchor was previously attached. Ensure that it sits flush against the ladder surface. Insert the screws or bolts and tighten them securely using the appropriate tool.
5. Secure the Anchor
To provide additional security and prevent any leaks, wrap the plumber’s tape around the threads of the screws or bolts. This will create a watertight seal, ensuring water doesn’t seep into the anchor and cause corrosion.
6. Reinstall the Pool Ladder
Once the new anchor is securely in place, carefully lower the pool ladder back into the pool. Ensure that it is properly aligned and stable. Test the ladder by applying slight pressure to ensure that it holds firm.
3 Signs That Your Pool Ladder Anchor Needs Replacement
Before proceeding with anchor replacement, it’s important to identify whether your pool ladder anchor needs replacing. Here are some signs that indicate the need for replacement:
1. Loose or wobbly ladder
If you notice that your pool ladder is loose or wobbly when in use, it could be a clear indication that the anchor needs to be replaced. A secure and stable ladder is essential for the safety of pool users, and a faulty anchor can compromise that stability.
When you experience excessive movement or wobbling while using the ladder, it’s crucial to address the issue promptly by replacing the anchor. This will ensure that your pool ladder remains secure and provides a safe entry and exit point for swimmers.
2. Visible damage
Inspecting the anchor for any visible signs of damage is an important step in determining whether it needs to be replaced. Look for cracks, chips, or signs of rust on the anchor.
These visible damages can weaken the anchor’s structural integrity and compromise its ability to hold the ladder securely.
If you observe any significant damage, it is essential to replace the anchor to maintain the safety and stability of your pool ladder. Don’t ignore visible damage, as it can lead to accidents or injuries while using the ladder.
3. Corrosion or deterioration
Over time, anchors can undergo corrosion or deterioration due to water and pool chemicals exposure. It’s important to check the condition of the anchor regularly. Look for signs of significant corrosion, such as rust or disintegration of the anchor material.
Corrosion weakens the anchor and reduces its ability to hold the pool ladder securely. Similarly, deterioration of the anchor material can compromise its structural integrity. If you notice extensive corrosion or deterioration, it’s crucial to replace the anchor promptly to ensure the safety and stability of your pool ladder.
3 Ways to Maintain and Extend the Lifespan of the Anchor
To maintain and extend the lifespan of the anchor, several steps can be taken:
1. Regular Inspections
Conduct routine inspections of the anchor to check for any signs of wear, corrosion, or damage. Inspect the anchor chains, cables, and connections for any weak points or excessive wear. Address any issues promptly to prevent further deterioration.
2. Cleaning and Maintenance
Clean the anchor regularly to remove any accumulated debris, marine growth, or sediment. This can be done using high-pressure water jets or brushing. Additionally, perform maintenance tasks such as lubricating moving parts, tightening bolts, and replacing worn-out components as needed.
3. Corrosion Protection
Apply suitable corrosion protection measures to the anchor to prevent rust and corrosion. This can include applying anti-corrosion coatings or paints that are specifically designed for marine environments. Regularly inspect and touch up the protective coatings to ensure their effectiveness.
4. Chain and Cable Care
Pay special attention to the anchor chain and cables, as they are critical components of the anchor system. Inspect the chains for any signs of wear, such as elongation, distortion, or broken links. Replace any damaged or worn sections promptly. Lubricate the chains regularly to minimize friction and corrosion.
5. Proper Storage
When the anchor is not in use, store it in a dry and well-ventilated area to prevent moisture buildup and corrosion. Avoid storing the anchor in direct contact with the ground or other metal surfaces that could accelerate corrosion.
6. Avoid Overloading
Ensure that the anchor is not subjected to loads beyond its design capacity. Overloading can lead to structural damage and reduce the lifespan of the anchor. Refer to the manufacturer’s guidelines or specifications for the maximum load limits of the anchor.
7. Professional Servicing
Periodically engage the services of professional anchor technicians or marine engineers to conduct in-depth inspections and servicing. These experts can assess the condition of the anchor system and provide recommendations for maintenance or repairs.
8. Documentation and Record-Keeping
Maintain a detailed record of all maintenance activities, inspections, repairs, and replacements performed on the anchor. This information will help track the anchor’s lifespan, identify recurring issues, and facilitate future maintenance planning.
Final Words
Replacing an anchor for your pool ladder is a straightforward process that can greatly enhance the safety and enjoyment of your pool. You can ensure a smooth and successful replacement by following the steps outlined in this guide.
With a new anchor in place, you can enjoy your pool with confidence, knowing that you have taken the necessary steps to maintain a safe and secure environment. So dive in and make the most of your pool experience.

Hi, This is Josh. I am a former competitive swimmer and current fitness enthusiast.
I created this site to share my love of swimming with the world!
